
Going off-grid in your campervan? A 12V battery system is the heart of your vanlife setup — powering your lights, fridge, fans, USB chargers, and more. In this step-by-step guide, we’ll show you how to build a beginner-friendly electrical system that’s safe, reliable, and totally DIYable.
Whether you’re converting your first van or optimizing an existing setup, this guide walks you through planning, components, wiring, and installation.
🔋 What Is a 12V Campervan Electrical System?
Most campervans run on a 12V DC system because it’s efficient, low voltage, and perfect for off-grid use. Unlike AC systems, it doesn’t require massive infrastructure or high voltage safety certifications.
Key components include:
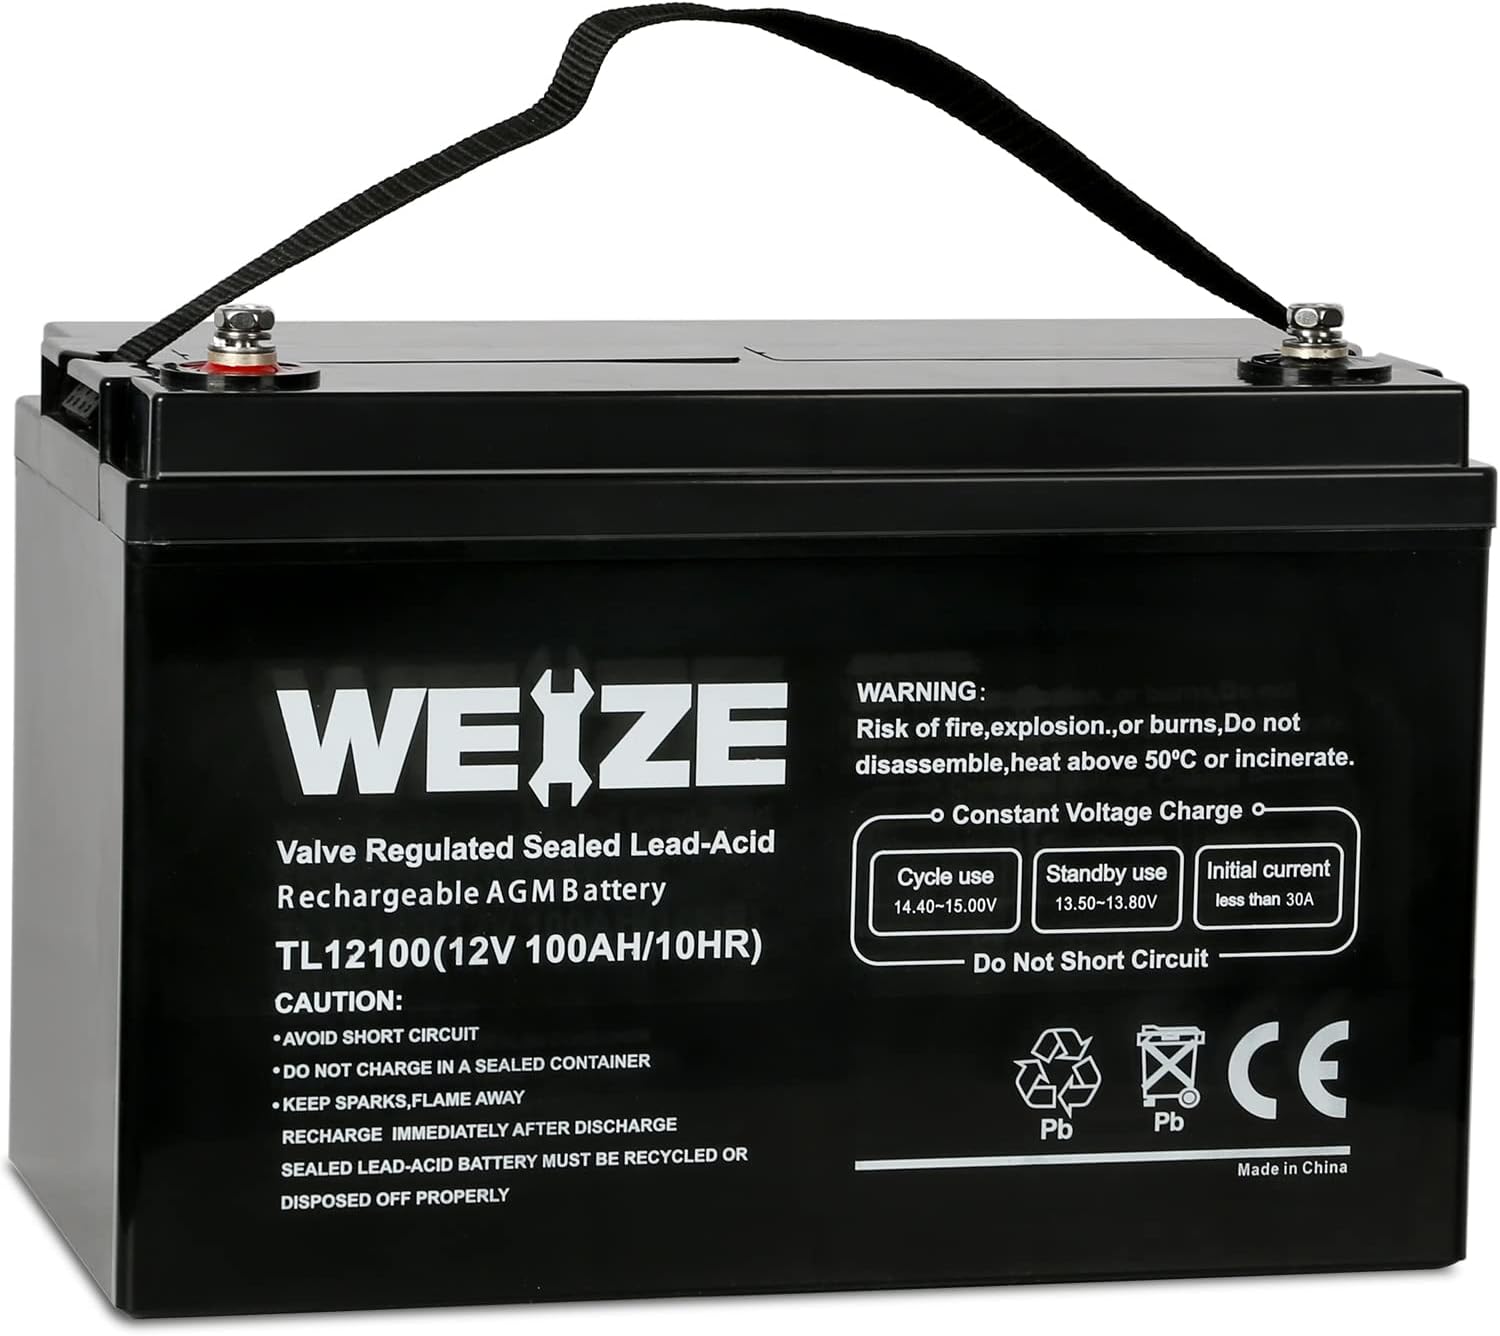
- Leisure battery – typically AGM or LiFePO4
- Charging sources – solar panels, alternator (via DC-DC charger), shore power
- Distribution system – fuse block, cables, switches
- Loads – all your appliances: lights, fridge, fans, etc.
New to battery types? Read our full guide: RV Battery Types Explained.
🧠 Planning Your Power Setup
Before you buy anything, plan how much power you’ll need. The easiest way: add up the watts of each device, calculate how long you’ll use them per day, then convert to amp-hours (Ah).
- 12V fridge – ~30-50Ah/day
- LED lights – 1–3Ah/day
- MaxxAir fan – ~10–15Ah/day
- Phone charging – ~2Ah/day
➡️ Use our free tool to simplify it: Camper Battery Capacity Calculator
🔧 Choosing the Right Components
Here’s a basic component list for a beginner-friendly 12V setup:
- Battery: 100–200Ah LiFePO4 or AGM
- MPPT Solar Charge Controller: Victron or Renogy
- DC-DC Charger: For charging via alternator while driving
- Fuse Box: With labeled blade fuses
- 12V Cables: Proper gauge (e.g. 10AWG, 6AWG, 2AWG)
- Inverter (optional): To run AC devices
Compare AGM and lithium in detail: AGM vs Lithium – Pros & Cons
🪛 Installing the System (Wiring Guide)
- Mount your battery in a secure, ventilated space using a box or straps.
- Install the solar controller near the battery for efficient voltage regulation.
- Wire in the fuse block and label every circuit clearly.
- Connect your DC-DC charger to the starter battery via an ignition line.
- Install all loads (lights, fan, fridge, etc.) with fuses.
Coming soon: downloadable PDF wiring diagrams. Need charging help? Read DC-DC vs Shore Power.
🧰 Safety Tips for DIY Electrical Work
- Disconnect all power before making connections
- Use the right fuse rating for each device
- Check polarity before powering on
- Secure cables with conduit and mounts
- Double-check grounding and bonding
🛒 Sample Shopping List
- 1x 100Ah LiFePO4 Battery
- 1x Victron MPPT Solar Controller
- 1x 20A DC-DC Charger
- 1x Fuse Box + Blade Fuses
- 10AWG/6AWG Wire Kit
- 1x Battery Monitor (e.g. Victron SmartShunt)
- 1–2x 100W Solar Panels
📦 Final Tips
This setup is ideal for weekend trips, digital nomads, or full-time vanlifers running 12V appliances. You can scale it up later with more batteries or solar.
Want even more power? Explore our best AGM RV Batteries for advanced setups.


High Quality set

double pack 100ah Lithium Battery for RVers with more energy consumption