
Replacing an RV battery is easier than you think — even for beginners. In this guide, you’ll learn exactly how to remove your old battery and install a new one safely and correctly.
Tools & Supplies You’ll Need
- 🔧 Wrenches or socket set (for battery terminals)
- 🧤 Gloves and safety glasses
- 🧼 Baking soda & brush (for corrosion)
- 📏 Measuring tape (if upgrading battery size)
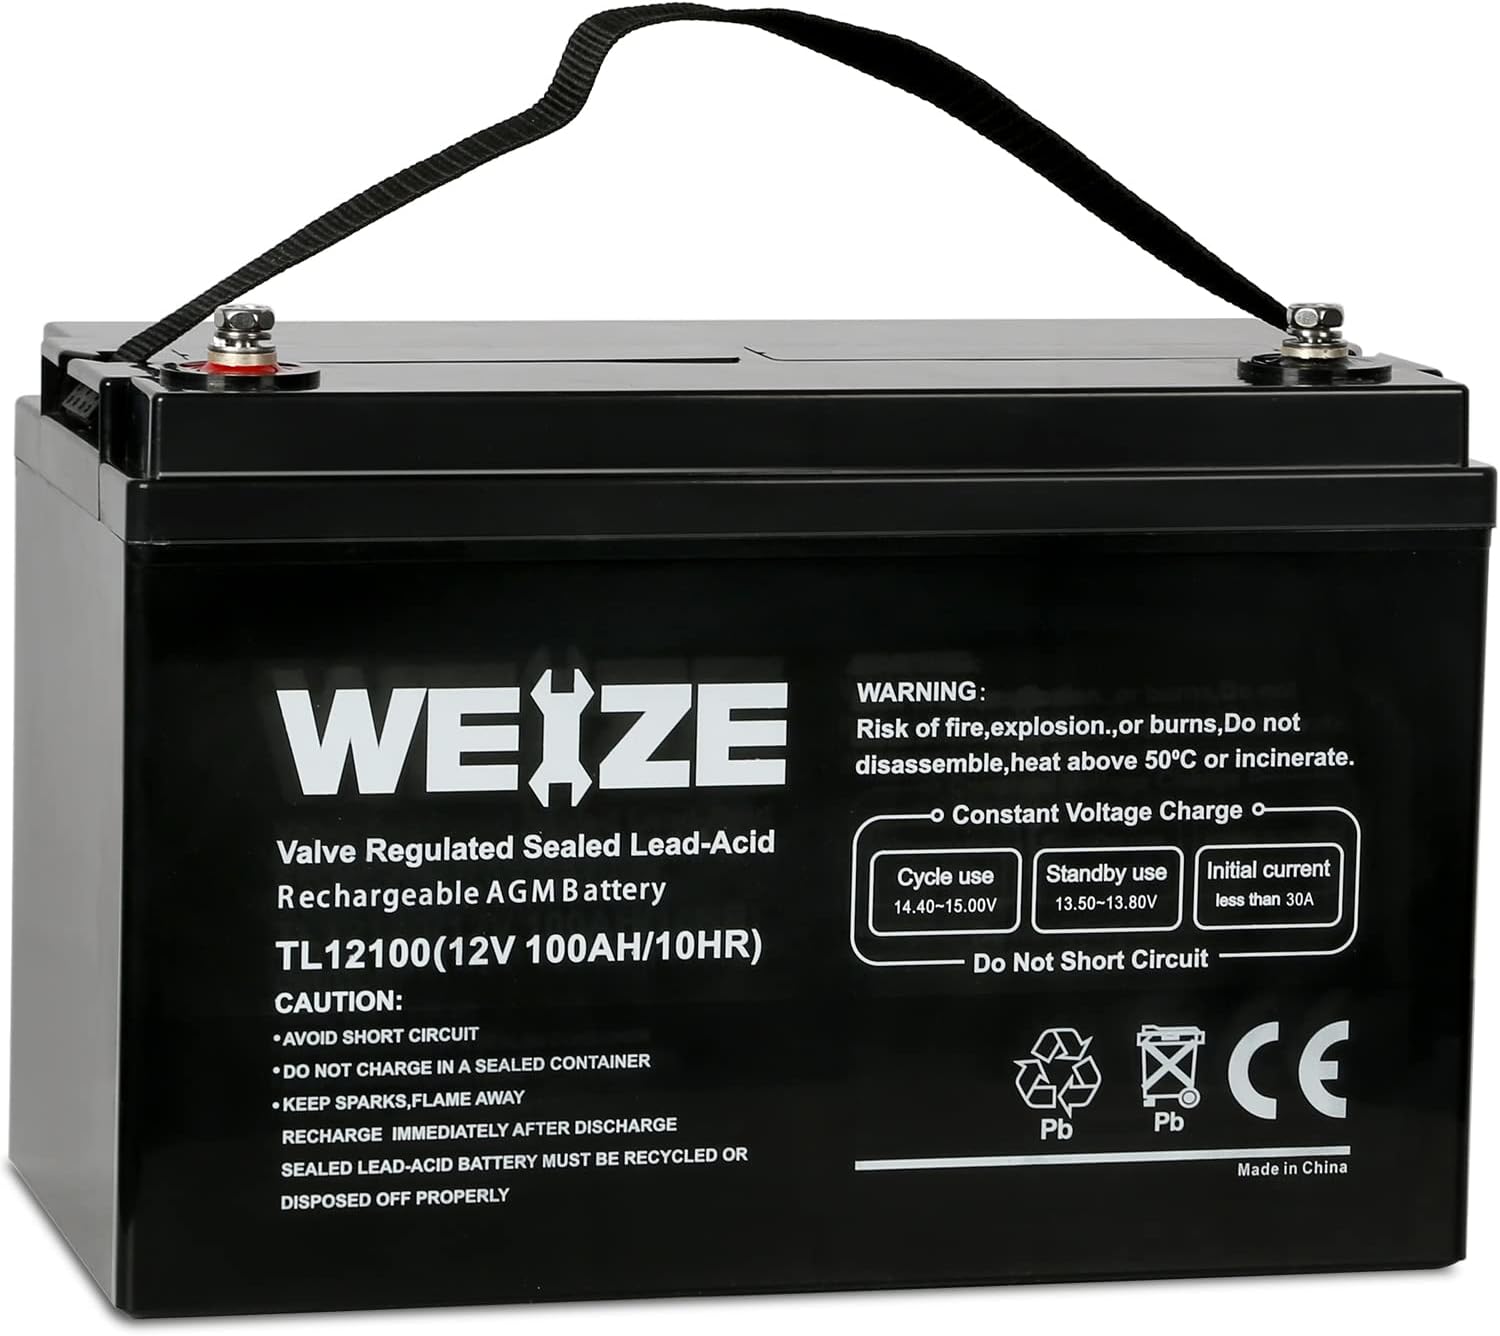
- 🔋 Your replacement battery (AGM, lithium, etc.)
Step 1: Turn Off All Power Sources
Before doing anything, disconnect your RV from shore power and turn off all breakers. If you have a battery disconnect switch, flip it off.
Step 2: Locate and Access the Battery Compartment
Most RV house batteries are located in a front compartment, step box, or near the chassis rail. Make sure the area is well-ventilated if using lead-acid batteries.
Step 3: Disconnect the Battery
Start by disconnecting the negative (–) terminal first, then the positive (+). This prevents sparks or shorts.
Step 4: Clean the Terminals
Check cables and battery tray for corrosion. Use a mix of baking soda and water with a wire brush to clean terminals and mounting surfaces.
Step 5: Install the New Battery
- Place the new battery in the tray and secure it properly
- Connect the positive cable first
- Then connect the negative cable
- If using lithium, make sure it’s compatible with your charger
Step 6: Test the System
Restore shore power or solar input, then check your battery voltage and make sure your 12V system is functioning. Use a multimeter or onboard monitor to confirm it’s charging correctly.
Bonus Tips
- 📌 Use dielectric grease on terminals to reduce future corrosion
- 🔌 If switching to lithium, you may need a new converter or DC-DC charger
- 🔍 Double check wiring polarity — wrong connections can damage electronics
When Should You Replace an RV Battery?
Common signs your battery is done:
- Voltage drops quickly after charging
- Battery swells or leaks
- Appliances cut out randomly
- Battery older than 4–7 years (AGM), or 10+ years (Lithium)
Related Guides
- How Long Do RV Batteries Last?
- RV Battery Won’t Charge? Here’s Why
- Best Lithium Batteries for RVs
- Charging Guide – AGM, Gel, Lithium
Replacing your RV battery yourself is a simple, satisfying upgrade. Whether you’re switching to lithium or refreshing an old AGM, this DIY will keep your rig powered up and ready for the road.


High Quality set

double pack 100ah Lithium Battery for RVers with more energy consumption